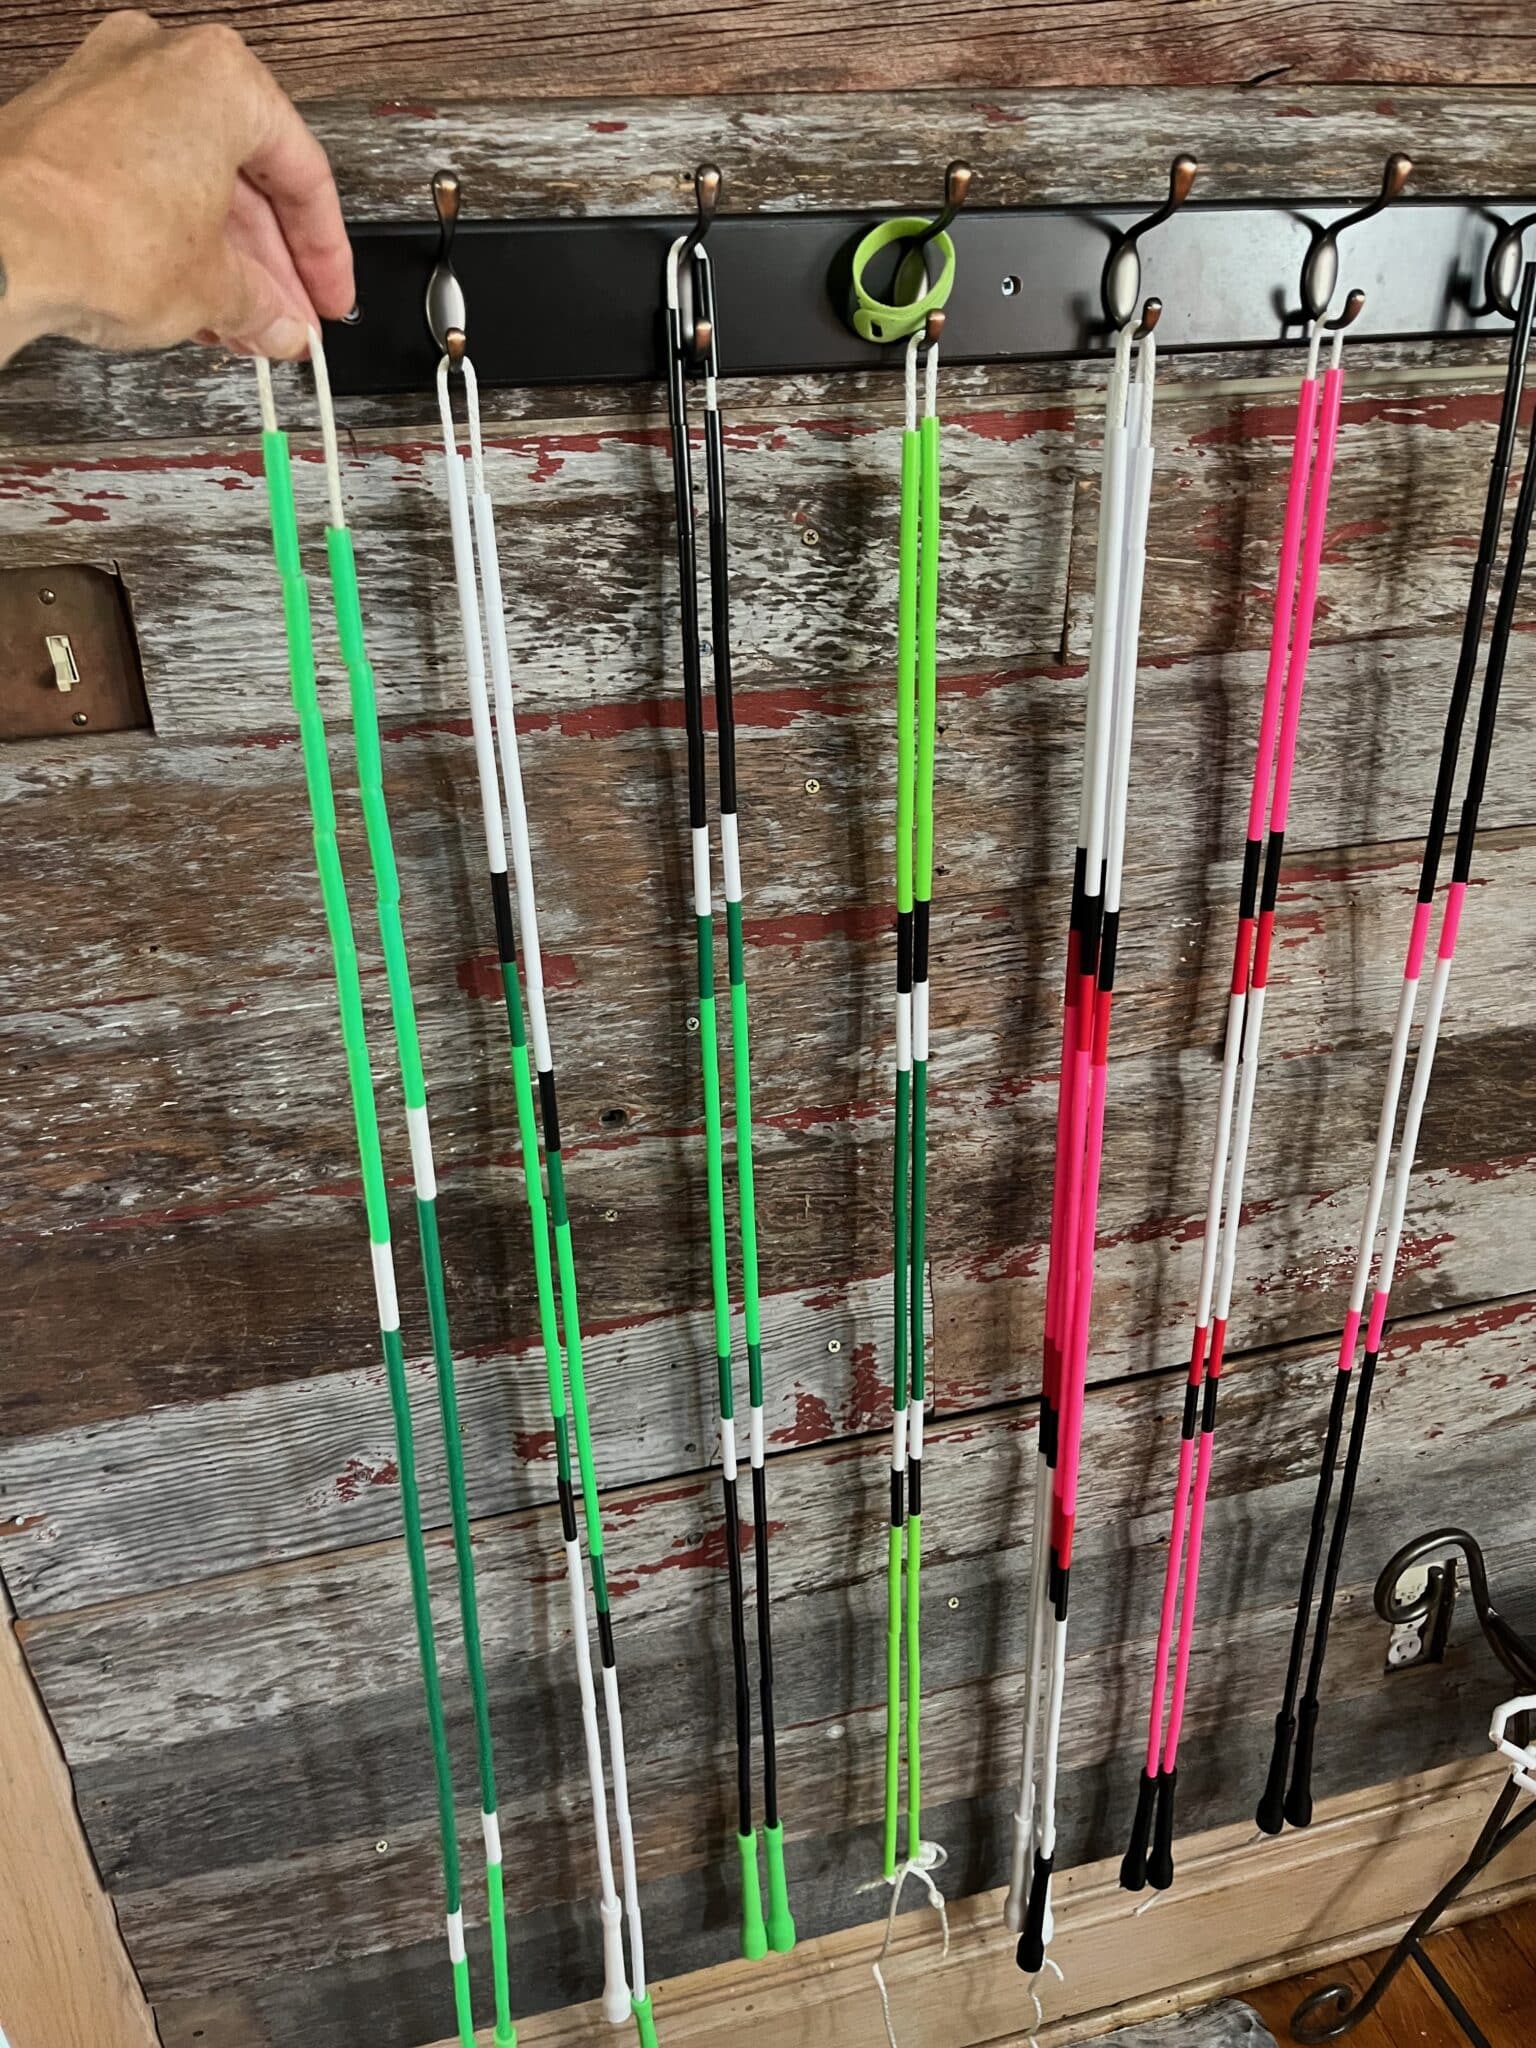
There’s something incredibly satisfying about jumping with a custom jump rope you’ve built yourself.
Lately, I’ve been diving into the world of custom jump ropes, ordering jump rope beads and handles, buying jump rope cord, and assembling pro ropes that are both gorgeous and super functional.
Today, I want to share the joy of building your own jump ropes and how it can transform your jumping experience.
Benefits of custom jump ropes
Personalization
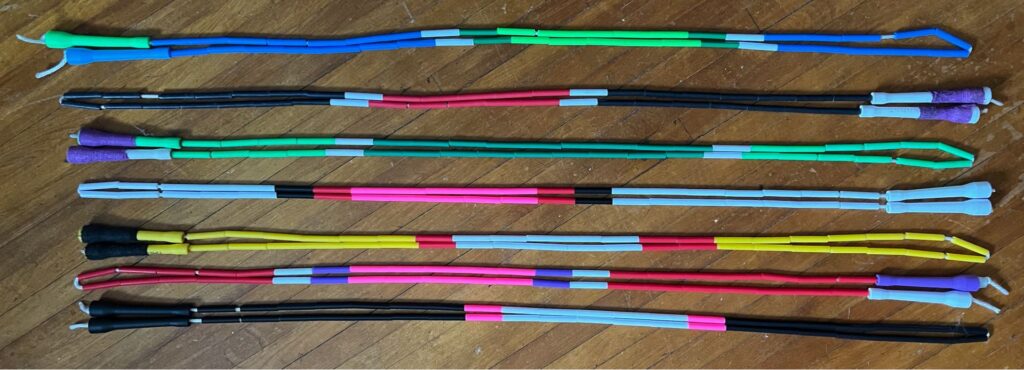
One of the most exciting aspects of building your own jump rope is that you can personalize it to your taste. You can choose colors, patterns, and styles that reflect your unique personality.
Whether you prefer bright, bold colors or sleek, minimalist designs, the options are endless.
Functionality
Customizing your jump rope allows you to select components that enhance your performance. You can choose beads and handles that match your jumping style and preferences.
For example, lightweight beads for speed and agility or heavier beads for a more challenging workout.
Quality control
When you build your own jump rope, you have control over the quality of the components. This means you can ensure that each part is durable and well-made, resulting in a rope that will last longer and perform better than many pre-made options.
You can also replace parts like beads as they wear out, prolonging the life of your rope.
The process of building your own jump rope
Choosing the right components
Jump rope handles
Handles come in various shapes, sizes, and materials. Foam grips offer comfort, while lightweight plastic handles are great for speed. Find the ones that feel right in your hands.
I prefer plastic handles that are 130 – 150 mm in length, but you can get them much longer than that. Both long and short handles have their benefits.
Benefits of long jump rope handles
- Increased control for tricks and freestyle moves. They allow for greater control and precision, making it easier to perform advanced tricks and freestyle moves such as crossovers, wraps, and releases.
- Easier execution of rotations: The extra handle length gives a little more leverage, making it easier to generate the necessary speed and force for double-unders, triple-unders, and other high-speed rotations.
- Extended Reach for Complex Movements: Long-handled ropes enable jumpers to extend their reach, facilitating more complex and varied movements, especially in routines involving multiple or simultaneous rope manipulations.
- Greater Versatility: Long-handled ropes can be more versatile and suitable for a broader range of styles and disciplines, including freestyle, speed jumping, and trick jumping.
Benefits of short jump rope handles
- Speed and Efficiency: Short handles are often preferred for speed jumping because they allow for quicker wrist rotations. This makes them ideal for activities like double-unders, triple-unders, and other high-speed jumping exercises.
- Compact and Portable: Short-handle jump ropes are a little more compact, making them convenient for travel and on-the-go workouts.
- Better for Beginners: The simplicity and ease of control with short handles make them suitable for beginners who are just starting to learn basic jump rope techniques. Also, short handles with a properly sized rope help encourage better form, like keeping the elbows in and rotating at the wrist rather than the shoulder.
- Precision and Consistency: Short handles provide a more direct connection between the jumper’s hands and the rope, allowing for greater precision and consistency in jumps. This can be particularly useful for maintaining a steady rhythm and improving coordination.
- Durability: Short-handle ropes often have a more robust construction since there’s less leverage and less strain on the handles during use. This can lead to longer-lasting equipment.
Overall, short-handle jump ropes are versatile and practical for a wide range of jump rope activities, making them a popular choice for both casual exercisers and serious athletes focused on speed and endurance training.
Personally, I prefer shorter handles because I think they help me focus on better jump rope techniques and help me learn tricks the right way.
Jump rope beads
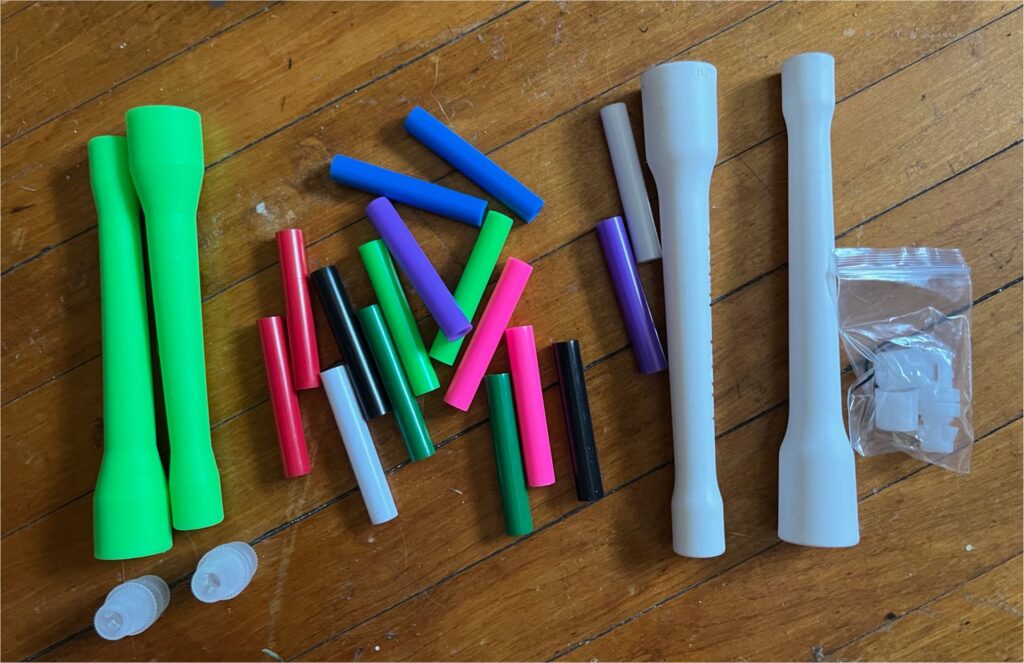
Beads can make a significant difference in your jumping experience. Choose from a wide range of colors and materials. Plastic beads are lightweight and fast, while heavier beads can provide more resistance for a tougher workout.
Beads come in different sizes, too. One-inch beads are most common on jump ropes, but you can find ropes with shorter and longer beads as well.
I use two-inch beads in the ropes I make because I like the added rigidity and feedback they provide.
Selecting a cord
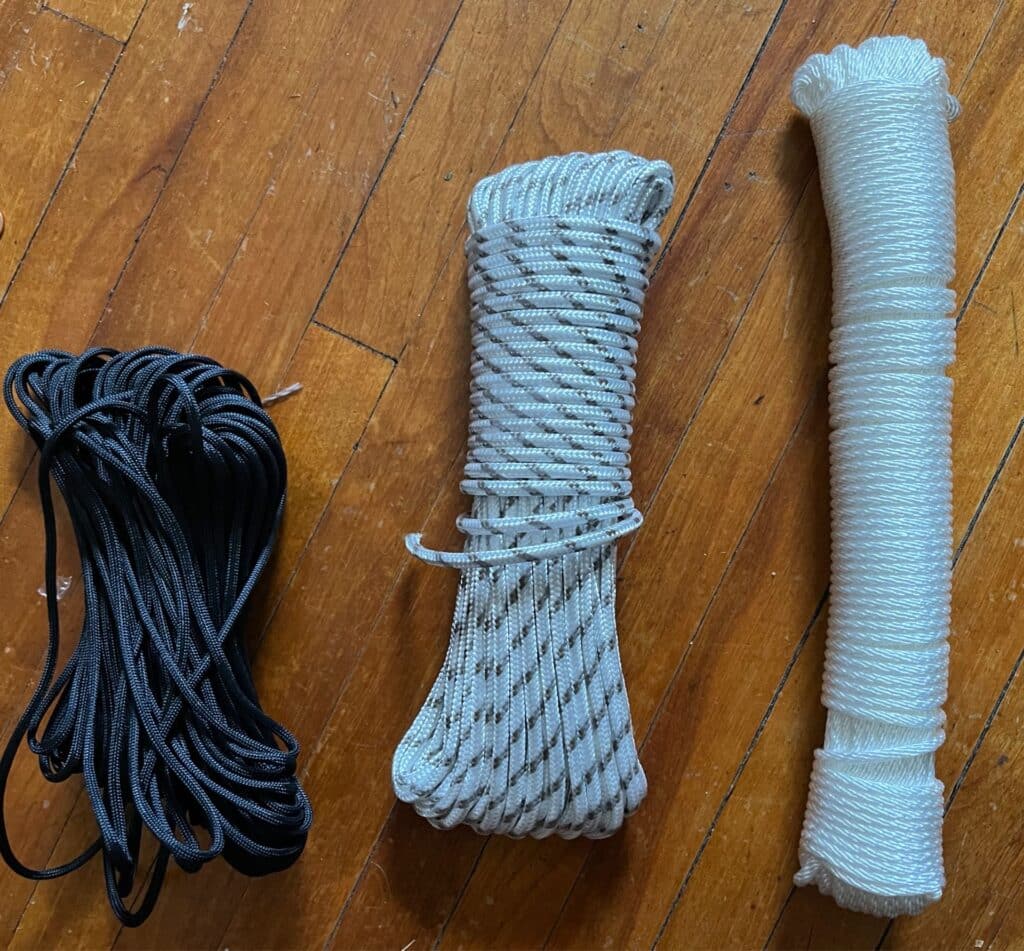
You need some sort of cord or rope on which to thread your beads. Many jump rope manufacturers default to using 1/8″ nylon braided rope, which works great.
The first Pro rope I bought from URope was thicker, at 3/16 inch. That doesn’t sound like much, but it’s 50% thicker and heavier than the thinner 1/8″ rope.
For this post, we’re focusing on building beaded ropes because it involves more steps and is just a little more difficult.
If you’re interested in building speed ropes, you can order PVC rope by itself and then order handles. The process is just measuring and attaching the handles.
Because of the beads, beaded ropes have many more pieces and more room for customization.
Assembling a custom beaded jump rope
Time needed: 30 minutes.
How to design and build your own custom beaded jump rope.
1. Gather your custom jump rope materials

Ensure you have all the necessary components: handles, beads, and a durable cord.
2. Measure and cut the cord

Determine the appropriate length of the cord for your height and cut it to size.
Most commercial ropes come in nine- or ten-foot lengths. In almost all cases, these are too long to jump with, so it’s important to learn how to size your jump rope so it works best for you.
The right size for me is for the cord (without handles) to come up to my belly button. An 84-inch jump rope (without handles) is the perfect length for me currently.
Since I’m using 2 inch beads, that means I need a total of 42 beads to complete the rope.
I know that my handles are each roughly 5″ long, so the total length of my rope with handles should be 94″ (84″ rope plus 10″ of handle).
Always cut a little more rope than you need for resizing. For me, I cut about 9 to 10 feet of rope.
I measure by laying a tape measure on the floor, doubling the rope and measuring to the length I need. So, for a ten foot rope, I’d double the rope and measure five feet.
Once I’ve cut the rope, I use a lighter to seal the ends of the rope to prevent fraying.
3. Plan your pattern
Lay out your beads in a color pattern or combination you like.
This is the fun, creative part! This is where you can let your freak flag fly and use whatever colors charm you. If you want a solid color, that’s cool. If you want all the colors, that’s terrific – you do you!
In my case, I know I need 42 beads, which is a convenient number math-wise.
Forty-two beads mean that I’ll have 21 beads on a side. And 21 is divisible by 3 and 7, which can also be helpful when planning patterns.
I lay out two lines of 21 beads and arrange the colors to suit my taste.
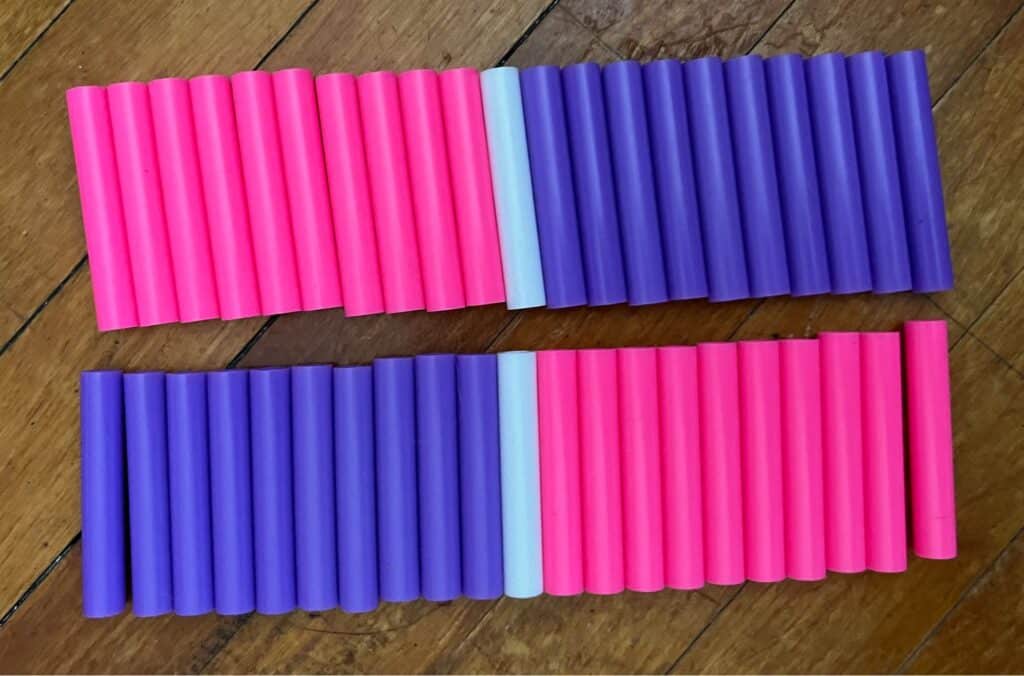
4. Thread the Beads
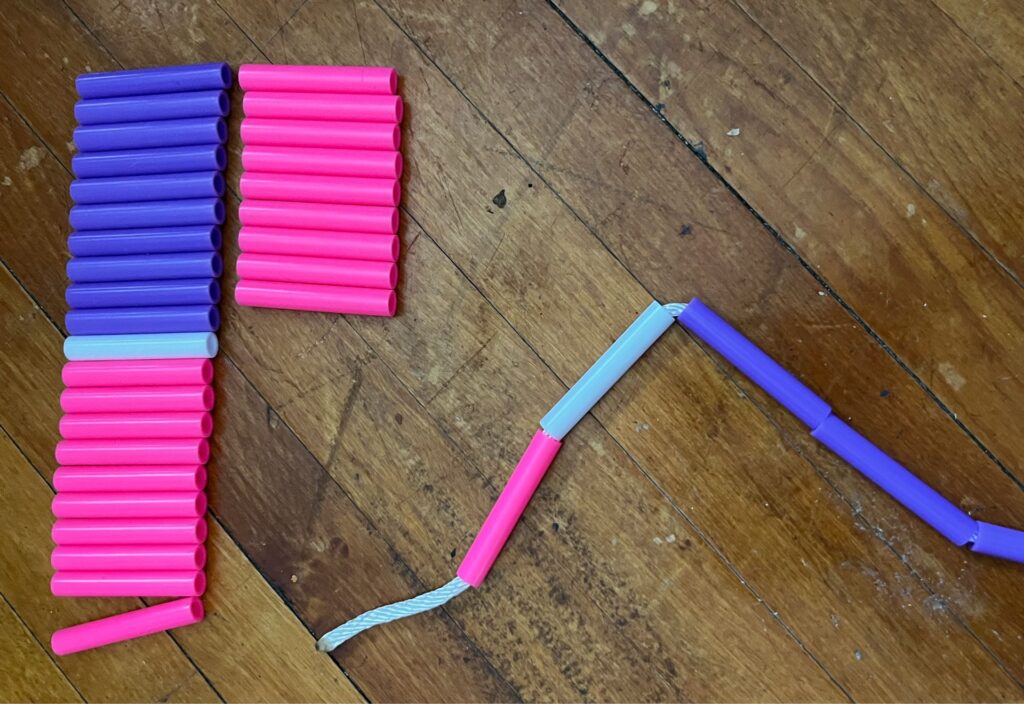
Tie a quick knot on one end of the cord and then start threading the beads onto the cord, creating your desired pattern.
5. Attach the Handles
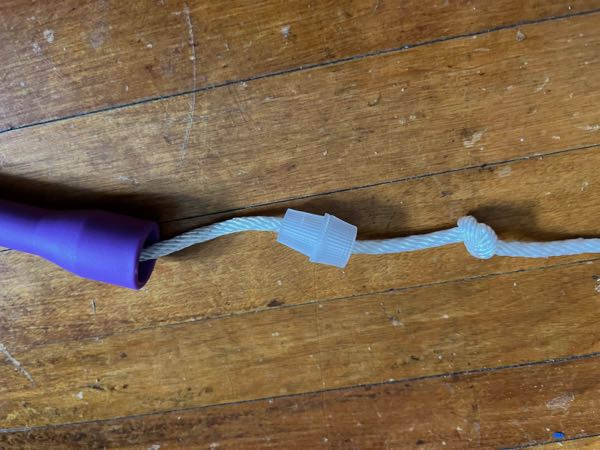
Secure the handles to each end of the cord, ensuring they are firmly attached.
You’ll start by feeding the rope through the handle and then the provided clamps or washers, and then you’ll tie a knot, making sure to leave a little breathing room for the rope.
6. Test and Adjust
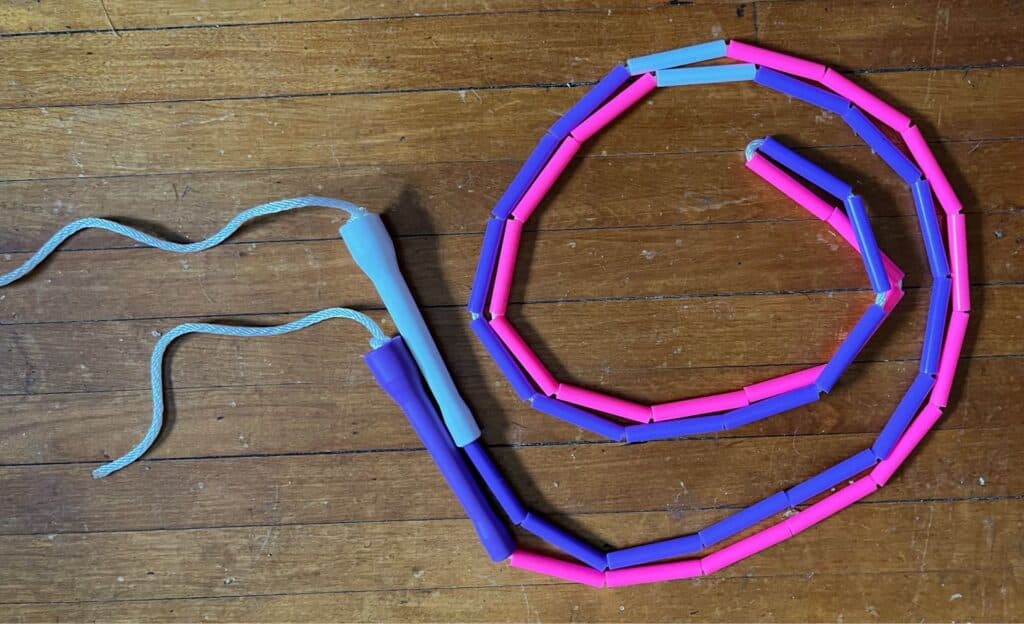
Give your new rope a test jump. Make any necessary adjustments to the length or bead placement.
Don’t trim too much of the excess cord from your rope until you’re sure it’s the right length. It’s always easy to take beads off, but you need some slack if you’re going to add more beads.
The Joy and Satisfaction of Jumping with Your Own Rope
Connection to the Craft
There’s a unique satisfaction that comes from jumping with a rope you’ve built yourself. It’s a tangible connection to your creativity and effort.
I name my ropes and talk to them, which is a connection above and beyond what you need to do, but I find it helps.
Enhanced Performance
A custom rope tailored to your preferences can significantly improve your jumping experience. You’ll find yourself more motivated and engaged with your workouts.
Aesthetic Pleasure
Jumping with a rope that looks great adds an extra layer of enjoyment to your routine. It’s fun to show off your custom design to friends and fellow jumpers.
I frequently jump at night, and I like creating ropes that look cool in low-light situations. So, I use a lot of white, pink, lime green, and yellow as highlights and accents because they look fantastic when whipping around during practice.
Conclusion
Building your own jump rope is a rewarding experience that combines creativity, functionality, and performance.
There’s nothing quite like the feeling of skipping a rope you’ve crafted with your own hands. So why not give it a try?
Gather your materials, let your creativity flow, and feel the joy of skipping with a custom rope.

Have you made a custom jump rope?
Have you ever built or customized a jump rope? Share your experiences and designs in the comments below!
Happy hopping!
Get Dizzy!
Subscribe and get my top tips for skipping success.
